
Spring is in the air! The birds are chirping, the snow is melting, and we’ve even seen a few tulips popping up out of the ground. And this Spring we’re hopping to a different beat! Swap the usual yarn nests for a playful twist with this utterly adorable Flip Flop Crochet Bunny Pattern.
Spring is my absolute favourite time of the year. With Spring comes Easter, which to me, means its time to crochet Bunny Rabbits, Chicks and Lambs. I’ve started this year with lots and lots of BUNNIES!! I just adore the sight of amigurumi bunnies invading Easter baskets (and hearts!).
Free Crochet Bunny Pattern for Beginners
If you’re new to the cuddly world of amigurumi (those cute little crocheted critters!), fear not! This free pattern is the perfect jumping-off point. (I couldn’t resist a pun!🐇) It’s beginner-friendly, quick and easy to follow, so grab your hook, and some of your favorite yarn, – you’re about to create the most unique and cuddly amigurumi bunny this season has ever seen!
You can craft a new springy friend for yourself, or create a great easter gift for someone special, the Flip Flop Bunny promises plenty of fun and cuddles, with this playful pattern!

Let’s Talk Soft Yarn, Hooks and Ami Assembly!
This Flip Flop Bunny crochet pattern is created with Bernat Velvet yarn (very similar to the Bernat Crushed Velvet).
Just like its grizzly pal – Flip Flop Bear – this cute crochet rabbit pattern builds its body with the same clever construction! To make this free crochet pattern even easier, there’s a no-sew option for the limbs! Simply embroider a nose on the muzzle, then sew the muzzle, ears and tail in place.
For the Flip Flop Crochet Bunny Pattern, I wanted to add the ultimate cuddle factor, which for me is, the world of lush chenille yarns. However, feel free to change up the yarn to suit yourself – just remember to adjust your hook size accordingly.
Here’s a cheat sheet (my yarn-hook recommendations):
- Worsted weight (4) yarn: 4.0mm (G) hook
- Bulky (5) yarn: 5.0mm or 5.5mm (H or I) hook
- Light Super bulky (6) yarn: 5.0mm or 5.5mm (H or I) hook
Remember, the golden rule is to keep those stitches tight! No one wants to see a bunny rabbit’s inner mysteries (ie. to stop stuffing poking out between small holes). 😂
Don’t forget to stay up to date on all things Darling Maple Designs by signing up for my newsletter ❤
Thank you so much for being here and crocheting with me ❤. Please share your work by tagging me on FB or IG @darlingmapledesigns or use #DarlingMapleDesigns for a chance to have your work featured in my IG stories!
❤ Sara

Interested in more cute crochet patterns? Check these out!
What you will need for your Flip Flop Bunny Crochet Pattern
Includes helpful stitch and process video tutorials
Materials:
Hook size 5.5 mm (I)
Main Colour – 100 yards
(shown in Bernat Velvet Vintage Teal)
Accent Colours – Bernat Velvet White and Velveteal- small amount
- Polyester filling – small amount
- 2 – 12 mm black safety eyes (not suitable for children under 3): As an alternative see video for embroidering sleepy eye.
- Stitch Markers or Safety pins to help with sewing placement
- Yarn needle to weave in the ends

Gauge:
4 Rounds of Gauge Pattern = 2.0 inch diameter
Gauge Pattern:
Create a Magic Ring
Round 1: 6sc in the ring (6)
Round 2: *2sc* 6 times (12)
Round 3: *sc, 2sc* 6 times (18)
Round 4: *sc in the next 2 sts, 2sc* 6 times (24)
Abbreviations:
| ch | chain |
| sc | single crochet |
| scdec | single crochet decrease |
| ss | slip stitch |
| st(s) | stitch(es) |
| *to* | repeat the sequence between the ** the number of times indicated |
Special Stitches & Techniques:
Magic ring
No Sew Method Attaching Legs
No Sew Method Attaching Arms
Embroider Nose
Sleepy Eyes
Making and Sewing on the Tail
Notes:
- #sc, eg. (2sc, 3sc, etc) shows the number of scs to be completed in the indicated st
- Sts listed between brackets are all worked in the same st, eg. (hdc, dc)
- I highly recommend using a stitch marker to help keep track of the rounds for the body/head
- The pattern has both a ‘sew’ and no sew option for the limbs shown in the Body/Head section.
Recommended Sequence:
It is highly recommended to complete the Flip Flop patterns in the order they are written (especially if you are using the no-sew option for the limbs).
Start your Flip Flop Bunny Crochet Pattern
Flip Flop Bunny Arms (make 2):
The arms are worked from the “paw” to the body, in continuous rounds.
Using Main Colour, create a Magic Ring
Round 1: 6sc in the ring (6)
Round 2: *2sc* 6 times (12)
Round 3-4: sc in each st (12)
Round 5: *sc in the next 2 sts, scdec* 3 times (9)
Round 6: *sc, scdec* 3 times (6)
Stuff only the ‘paw’ portion of the arm, the rest will be left unstuffed
Rounds 7-12: sc in each st (6)
Flatten and sc through both sides (3sts).
End off leaving a 12 inch tail if sewing.
Flip Flop Bunny Legs (make 2):
The legs are worked from the “paw” to the body, in continuous rounds.
Using Main Colour, create a Magic Ring
Round 1: 6sc in the ring (6)
Round 2: *2sc* 6 times (12)
Round 3: *sc in the next 3 sts, 2sc* 3 times (15)
Rounds 4-6: sc in each st (15)
Round 7: *sc in the next 3 sts, scdec* 3 times (12)
Round 8: *sc in the next st, scdec* 4 times (8)
Stuff only the ‘paw’ portion of the leg, the rest will be left unstuffed
Rounds 9-16: sc in each st (8)
Flatten and sc through both sides (4sts).
End off, leaving a 12 inch tail if sewing.
Flip Flop Bunny Body/Head:
The body and head are worked in one piece from the bottom up in continuous rounds.
Option 1: Sewing the Legs and Arms to the body
If you are sewing your legs and arms onto your body then ‘sc in each st’ for Round 6 and Round 21.
Option 2: Crochet Legs and Arms to the body
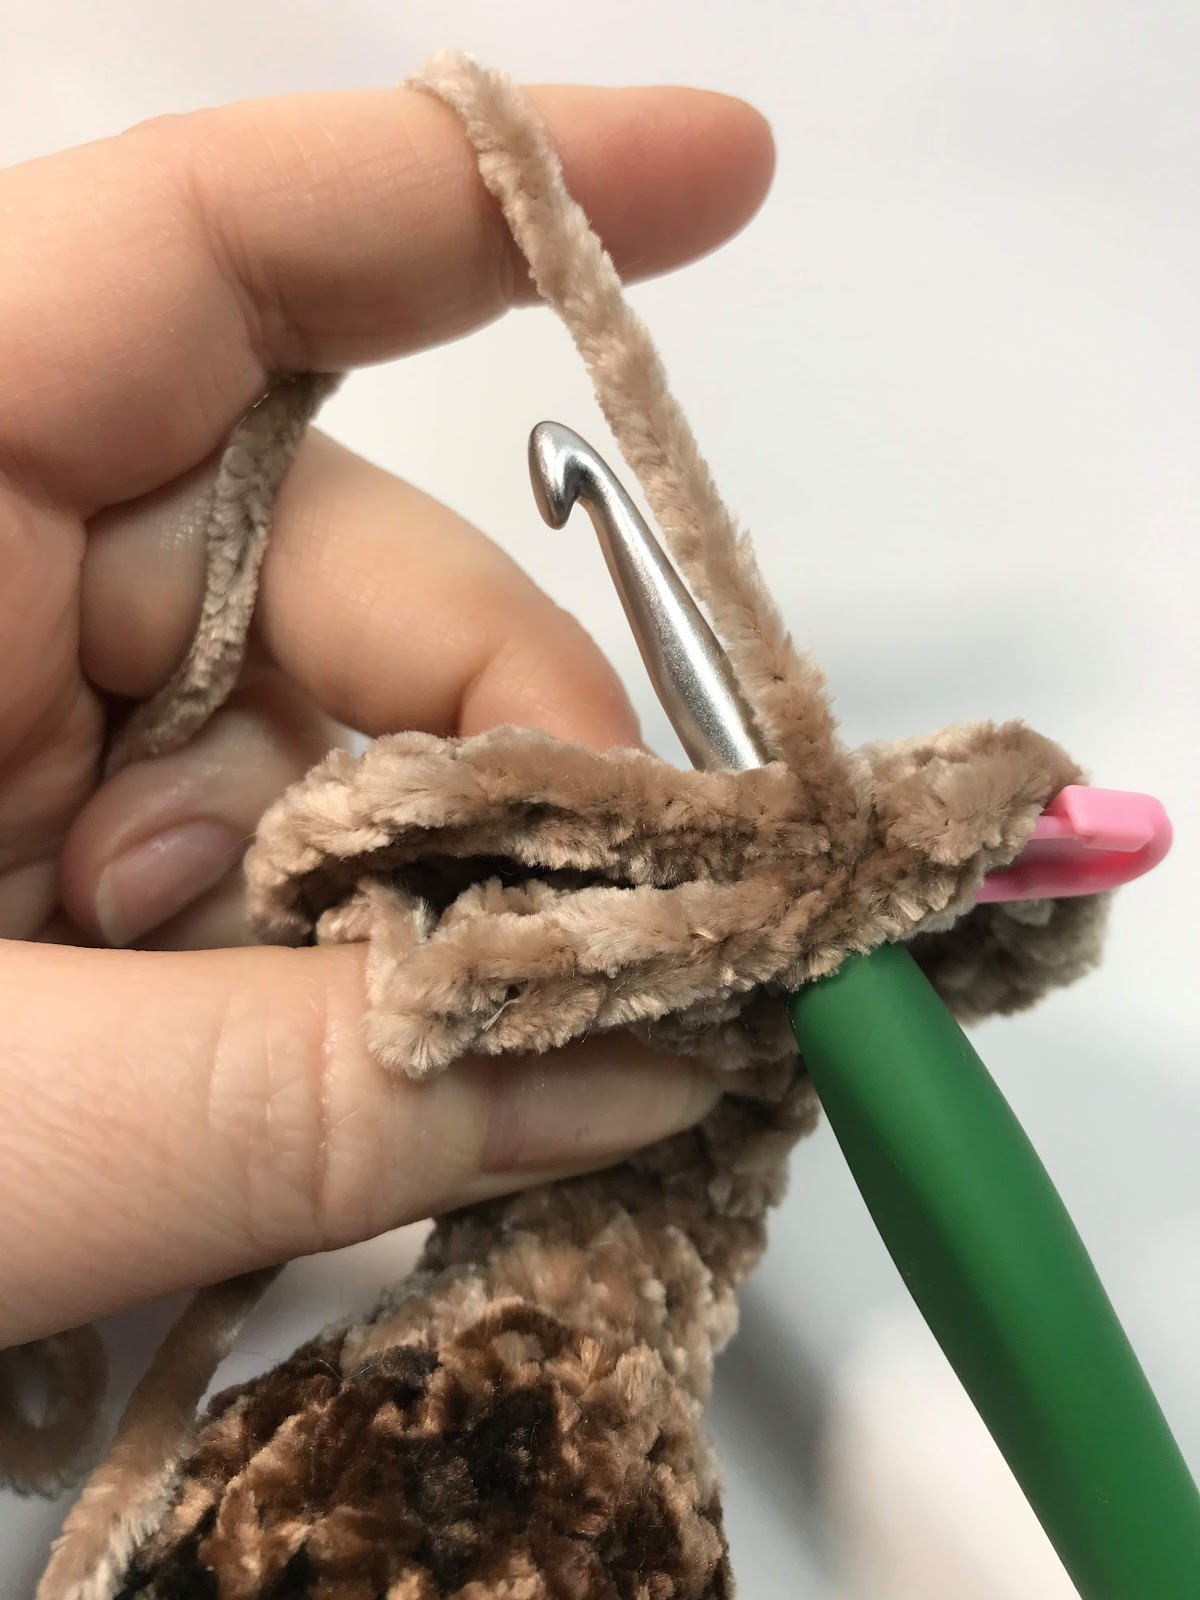
If you are crocheting your legs and arms onto your body please follow the pattern as written for the Body/Head.For assistance in crocheting the limbs on see Videos:
Attaching Legs
Attaching Arms
Using Main Colour, create a Magic Ring
Round 1: 6sc in the ring (6)
Round 2: *2sc* 6 times (12)
Round 3: *sc in the next st, 2sc* 6 times (18)
Round 4: *sc in the next 2 sts, 2sc* 6 times (24)
Round 5: *sc in the next 3 sts, 2sc* 6 times (30)
Round 6 Option 1: sc in each st (30)
Option 2: Hold your first leg in front of your work (body). Working through both pieces, sc in the next 4 sts, working through the body only, sc in the next 5 sts, Hold the second leg in front of your work (body). Working through both pieces, sc in the next 4 sts, working through the body only, sc in the last 17 sts (30).
Rounds 7-12: sc in each st (30)
Round 13: *sc in the next 3 sts, scdec* 6 times (24)
Rounds 14-16: sc in each st (24)
Note: You may want to begin stuffing
Round 17: *sc in the next 2 sts, scdec* 6 times (18)
Round 18-19: sc in each st (18)
Round 20: *sc in the next st, scdec* 6 times (12), end off, weave in end.
Round 21 Option 1: sc in each st (12)
Option 2: Place the animal down on a hard surface with the body face ‘up’ and the legs facing you. Locate the 3 centre front sts and mark them with a stitch marker (the arms will be placed on either side of these sts). Locate the far right marked st. Count over 3 sts to the right of it and attach your yarn to the body. (If left handed you will locate the left st and count over 3 sts to the left).
Place the first arm in front of the body to the right of the marked sts (left if you’re left handed). Working through both pieces (beginning with the first st of the arm and the stitch on the body you attached your yarn to), sc in the next 3 sts.
Working through the body only, sc in the next 3 sts (these are your marked sts). Place the second arm in front of your work (body). Working through both pieces, sc in the next 3 sts, working through the body only, sc in the last 3 sts (12).


Round 22: *sc in the next st, 2sc* 6 times (18)
Round 23: *sc in the next 2 sts, 2sc* 6 times (24)
Round 24: *sc in the next 3 sts, 2sc* 6 times (30)
Round 25: *sc in the next 4 sts, 2sc* 6 times (36)
Rounds 26-31: sc in each st (36)
Add safety eyes to Round 28 approximately 4-5 sts apart, continue stuffing.
Round 32: *sc in the next 4 sts, scdec* 6 times (30)
Round 33: *sc in the next 3 sts, scdec* 6 times (24)
Round 34: *sc in the next 2 sts, scdec* 6 times (18)
Finish stuffing
Round 35: *sc, scdec* 6 times (12)
Round 36: *scdec* 6 times (6)
End off leaving a 6 inch tail, cinch the last 6 sts together and weave in the end.
Flip Flop Bunny Muzzle:
Made in continuous rounds.
Using Muzzle Colour (shown in White), create a Magic Ring
Round 1: 6sc in the ring (6)
Round 2: *2sc* 6 times (12)
Round 3: *sc in the next 3 sts, 2sc* 3 times (15)
Round 4: sc in each st (15)
End off leaving a 12 inch tail for sewing.
Flip Flop Bunny Ears: (make 2)
Made in continuous rounds beginning with the tip of the ear.
Using Main Colour, create a Magic Ring
Round 1: 6sc in the ring (6)
Round 2: *sc, 2sc* 3 times (9)
Round 3: *sc in the next 2 sts, 2sc* 3 times (12)
Round 4: *sc in the next 3 sts, 2sc* 3 times (15)
Round 5-13: sc in each st (15)
Round 14: *sc in the next 3 sts, scdec* 3 times (12)
Round 15: *sc in the next 2 sts, scdec* 3 times (9)
Do not stuff, ss in the next st. Flatten and sc through both sides (4-5 sts).
End off leaving a 12 inch tail for sewing to the head.
Flip Flop Bunny Pom Pom Tail:
Worked in 1 Round. See video for assistance
Using White, ch 4, join to the first chain to create a loop
Round 1: *Ch 8, ss in the loop* 8 times
End off, leaving a 12 inch tail.

How to assemble your Flip Flop Crochet Bunny Pattern
Sewing Placement – I highly recommend pinning ALL parts in place BEFORE sewing to make sure everything sits properly and is to your liking 🙂
| Note: Disregard sewing the legs and arms if you’ve already crocheted them on. Legs: Place the legs at approx Round 5 of the body about 4 sts apart.Sew in place. When sewing the legs in place I sewed the top of the last FULL ROUND DOWN instead of just the sts from crocheting the round together. |
| Arms: Place the arms at approx Round 21 of the body, approx 3 sts apart. Sew in place. When sewing the arm in place I sewed the top of the last FULL ROUND DOWN instead of just the sts from crocheting the round together. |
| Nose: Follow video for embroidering the nose. Feel free to embroider before or after sewing the muzzle in place. Video |
| Muzzle: Centre the muzzle on the body placing it between Rounds 23 and 27 on the head. Stuff lightly and sew down along Round 4 of the muzzle |
| Ears: Fold in half lengthwise and sew the bottom together. Place the ears between Round 32 and 34. Sew in place. |
| Tail: Centred on the back of the body. Place between Rounds 6 and 9 of the body and sew in place. |
Congratulations!
You have now completed your Flip Flop Bunny Crochet Pattern.
The Flip Flop Bunny is a free amigurumi pattern that’s ready to hop into your heart (and maybe a baby nursery shelf!). Flip Flop Bunny isn’t just adorable, it’s an easy , low-sew amigurumi pattern tailor-made for a cute baby shower gift or Easter basket addition! Can you imagine your little one’s surprise, finding this not-so little bunny nestled amongst their Easter eggs on Easter morning?
If you loved this easy crochet pattern? Then check out my other crochet bunny designs! They’re all easy amigurumi patterns with helpful photo tutorials to make all sorts of adorable crochet bunnies this spring!
You might also love my Crochet Bunny Pattern Round Up!!
25 Adorable Crochet Bunny Patterns for Easter
We love seeing your finished projects. Tag us in your photos and posts using #DarlingMapleDesigns or @darlingmapledesigns.
Thank you so much for joining us! I hope you loved completing your Flip Flop Bunny Crochet Pattern as much as I enjoyed designing it. Don’t want to miss a stitch? Subscribe to the Darling Maple Designs newsletter and I’ll send updates for new pattern releases, sales and promotions straight to your inbox. See you again soon! Sara <3
If you have any questions or concerns with this, or any other pattern written by Darling Maple Designs, please do not hesitate to contact me at: info@darlingmapledesigns.com.
Don’t forget to Pin it to your project board.


I LOVE your bunny and bear floppy toys!! Thank you for sharing them with us!!
These are absolutely gorgeous. So lovely to share with your loved ones.