Gingerbread ornaments bring such a nostalgic and cosy feel to Christmas. This free Gingerbread Girl Candy Cane Ornament pattern is a fun twist on a classic design. This quick and easy crochet project is perfect for making a handmade ornament for your Christmas tree or uniquely topping your gift wrapping. With her easy-to-follow pattern with simple steps, you’ll create this low-sew amigurumi pattern in no time to share or keep for yourself.
To keep her company, there’s a Gingerbread Boy Ornament too! And he’s just as cute. This post is for the Gingerbread Girl. Check out the Gingerbread Boy Post Here!
Get the Entire Candy Cane Holder Collection!
The Candy Cane Holder Ornament Collection features 16 adorable patterns! Grab all the festive fun right now in the Crochet Candy Canes Bundle e-book.
This bundle includes the complete set of 16 patterns, complete with process photos, tutorial links, and a convenient clickable table of contents.
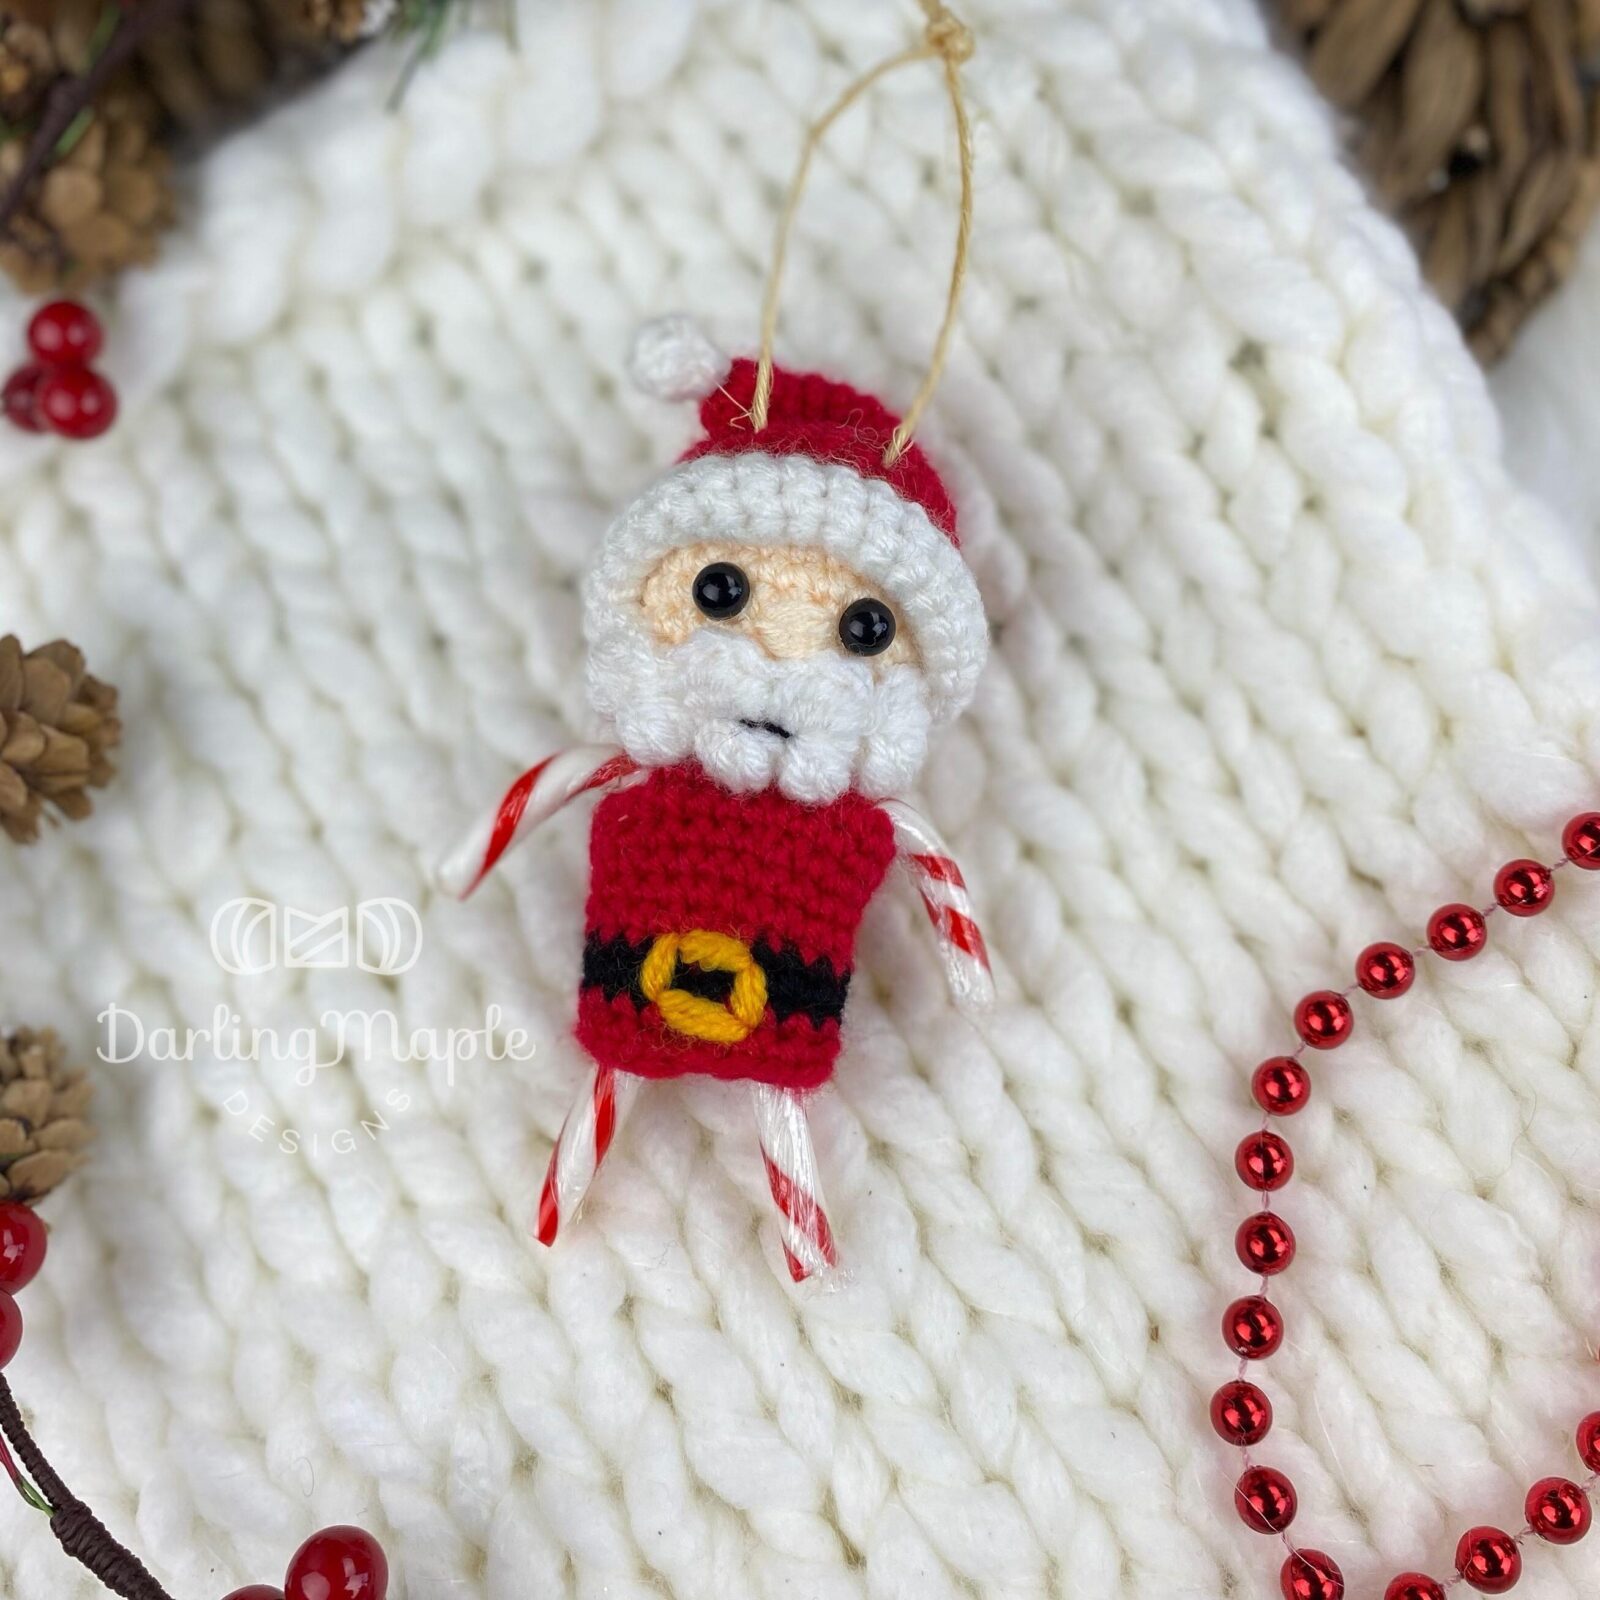
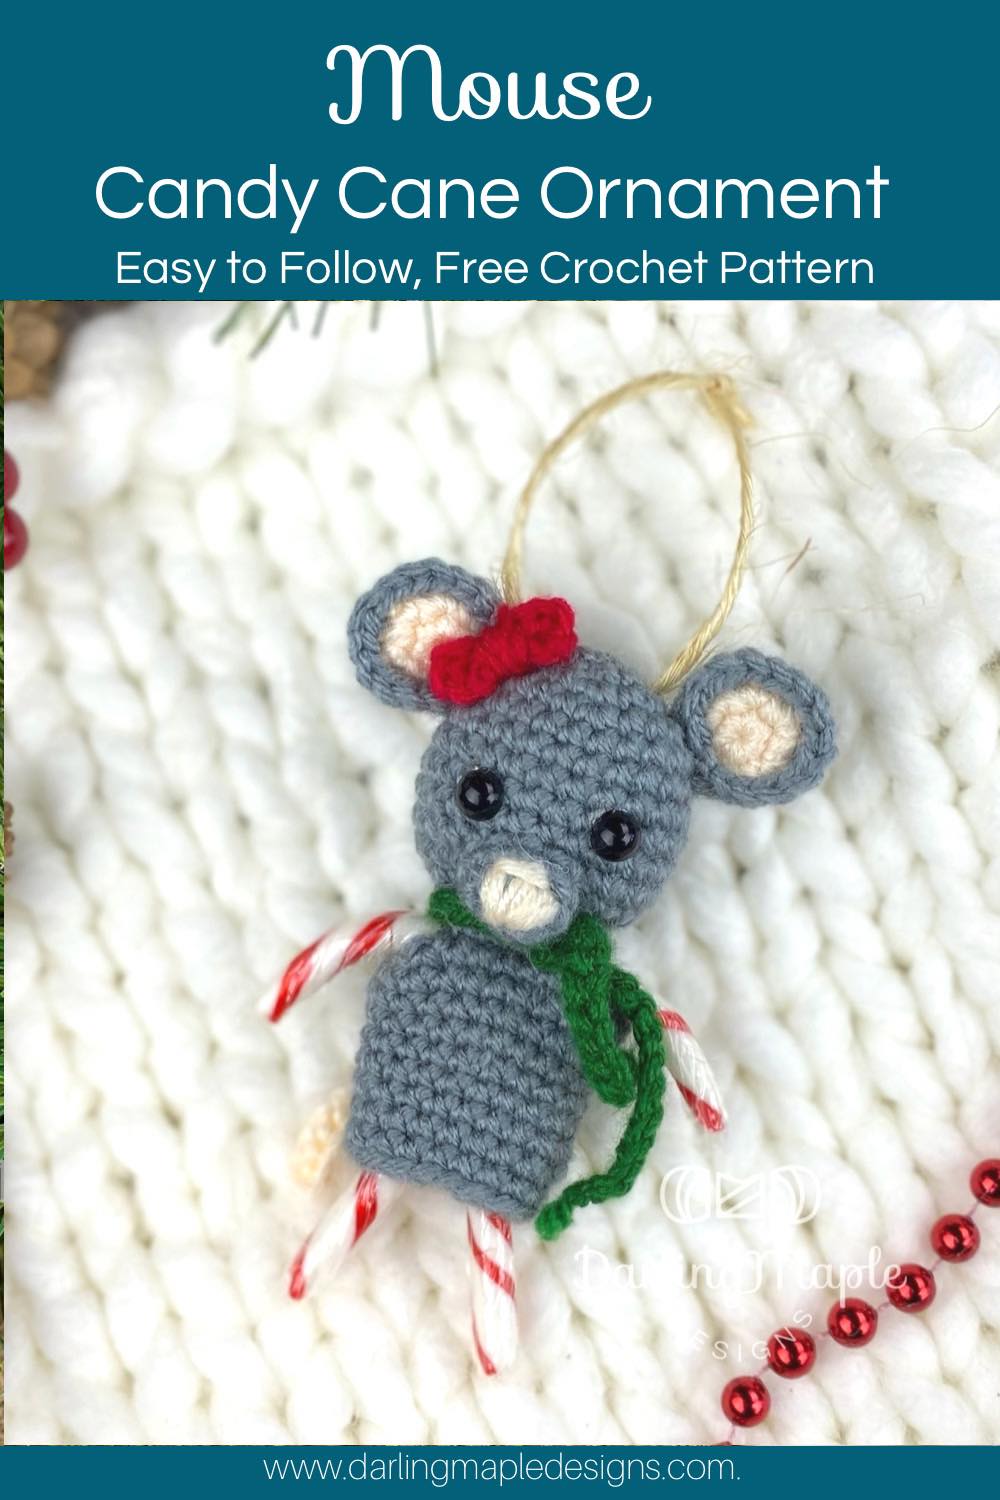
Inside, you’ll find this super popular Gingerbread Candy Cane Ornament, along with instructions to create his festive friends: Santa, Snowman, Reindeer, Kitty, Dinosaur, Unicorn, Bear, Puppy, Mrs. Claus, Elf, Mouse, Moose, Gingerbread Girl, Penguin, and Giraffe!
All this holiday goodness is ready for you NOW! Grab your bundle today on Ravelry or Etsy!

H2 Crochet Handmade Holiday Ornaments You’ll Love
Handmade ornaments have always been a favourite of mine, and this new series of Christmas Tree Ornaments might just be the best yet! The whimsical addition of mini candy canes as arms and legs adds such a playful twist—how fun is that?
If mini candy canes aren’t handy, don’t worry! The pattern includes instructions for adorable curly cue limbs as an alternative. OR. Get creative and use something else! These cute ornaments are perfect for teacher gifts, and craft fairs too!
H2 Gingerbread Girl Amigurumi Materials and Yarn Tips
This free pattern uses WeCrochet’s Brava Worsted Yarn (4), a soft and vibrant yarn that made this project a joy to work on. You can also use any medium (4) weight yarn, but it’s best to avoid altering the yarn weight for this design.
For the eyes, 6 mm flat back black pearls work wonderfully and can be hot glued in place. Alternatively, you can use 6mm safety eyes or embroider the eyes, especially if the ornaments will be around small children (safety first!).
Minimal sewing is required for this project as the head and body are crocheted in one piece. Only the facial details and bow need to be added after. You’ll find a full list of materials below to get started on your Gingerbread Girl Candy Cane Ornament today!
Check out the Gingerbread Girl Candy Cane Ornament crochet pattern below or grab the inexpensive ad-free PDF with additional helpful photos on Ravelry or Etsy
Want to stay up to date on all the Darling Maple Designs happenings? Then be sure to subscribe to my newsletter ![]()
Thank you so much for being here and crocheting with me ![]() .
.
Please share your work by tagging me on FB or IG @darlingmapledesigns or use #darlingmapledesigns for a chance to have your work featured in my IG stories! ![]() Sara
Sara

Interested in more cute crochet patterns? Check these out!
What you will need for your Gingerbread Girl Candy Cane Ornament Crochet Pattern
Materials:
Hook size 3.75 mm (F) Clover Amour
Yarn: Medium Weight (4) – Shown using Knit Picks Brava Worsted
| Main Colour | |
| Gingerbread (Brown) | 25 yards |
| Accent Colours | |
| White (White), Red (Red), Peapod (Green), Black (Black) | Small Amount |
| Curly Cue Arms/Legs (Colour(s) of Choice) (Optional) | 15 yards |
- 6mm safety eyes OR 6mm flat back black pearls (optional)
- Polyester filling
- 2 Mini Candy Canes (approx. 3” long) for the arms/legs
- Twine (optional)
- 4 x 10mm Bells (optional for Curly Cue arms/legs)
- Stitch Markers & Safety Pins to help with sewing placement
- Yarn Needle to weave in the ends

Gauge:
4 rounds of sc = 1.5 inches diameter
Gauge Pattern:
Create a Magic Ring
Round 1: 6sc in the ring (6)
Round 2: 2sc in each st (12)
Round 3: *sc, 2sc* 6 times (18)
Round 4: *sc in the next 2 sts, 2sc* 6 times (24)
Abbreviations:
| BLO | Back Loop Only |
| ch | chain |
| dc | double crochet |
| FLO | Front Loop Only |
| sc | single crochet |
| scdec | single crochet decrease |
| ss | slip stitch |
| st(s) | stich(es) |
| *to* | repeat the sequence between the ** the number of times indicated |
Special Stitches & Techniques:
Magic ring – https://youtu.be/ayek4XfmDvM
Sleepy Eye – https://youtu.be/4kO0XAkXMGo (if not using safety eyes/flat back pearls)
How to Close the Head and Begin the Body –https://youtu.be/h42lU_7gam4
Notes:
- #sc (eg. 2sc, 3sc, etc) shows the number of scs to be completed in the indicated st
- sts listed within brackets are to be worked in the same st. Eg. (Sc, hdc)
- I highly recommend using a stitch marker to help keep track of the rounds
- All rounds will be continuous (unless otherwise stated).
- When changing colours, end off previous colour unless noted otherwise.
Check out the Candy Cane Ornament Collection in a 16 Pattern Bundle on Ravelry or Etsy!
Start your Gingerbread Girl Candy Cane Ornament Crochet Pattern
Gingerbread Girl Head/Body:
The head/body is created in continuous rounds beginning with the head
Using Brown, create a Magic Ring
Round 1: 6sc in the ring (6)
Round 2: *2sc* 6 times (12)
Round 3: *sc, 2sc* 6 times (18)
Round 4: *sc in the next 2 sts, 2sc* 6 times (24), change to White
Round 5: sc in each st (24), change to Brown
Rounds 6-10: sc in each st (24)
Round 11: *sc in the next 2 sts, scdec* 6 times (18)
Round 12: *sc in the next st, scdec* 6 times (12)
See Video for assistance with the next 2 Rounds: https://youtu.be/h42lU_7gam4
Round 13: FLO for the entire round, sc in each st (12), do not end off…
- Place a stitch marker in the loop on your hook to keep it from pulling out.
- Place on a flat surface with the top of the head facing away from you and the last stitch sitting at the far right (far left if left handed) and ‘flatten’ the head down.
- If using – add safety eyes to Round 7 approx 3 sts apart
- Lightly stuff the head. Flatten the head down.
- Using a scrap piece of yarn and starting with the first and last st of Round 13, mattress stitch in the back loops of Round 12, across the opening.
- Continue working Round 14 from where you left off after Round 13.
Round 14: creating the arm holes *ch5, sc in the next 6 sts* twice (12 + 10chs)
Round 15: *sc in the next 5 chs, sc in the next 6 sts* twice (22)
Round 16: *sc in the next 9 sts, scdec* twice (20)
Rounds 17-18: sc in each st (20)
Round 19: *sc in the next 8 sts, scdec* twice (18)
Round 20: sc in each st (18), change to White
Round 21: sc in each st (18), change to Brown
Round 22: *dc, 2dc* 9 times (27)
End off, by slip stitching to the next st, weave in end.
Bow: Made in a joined chain.
Using Red, ch 6
Join to the first ch creating a loop. End off, leaving a 9” tail. Flatten the loop and wrap the tail around the centre to create the centre of the bow.
Gingerbread Girl Scarf (not shown, optional) :
Created in a chain.
Using Colour of choice, ch 35
End off, cut ends close to beginning and end of chain.
Gingerbread Girl Curly Cue Arms/Legs (make 2, if not using candy canes):
Created in 1 row
Using Colour of Choice, ch 36
Row 1: 3sc in the 2nd ch from the hook, 3sc in each of the next 34chs (105)
End off, Sew on bells if desired, Weave in ends
Sewing Placement – I highly recommend pinning ALL parts in place BEFORE sewing to make sure everything sits properly and is to your liking 🙂
| Eyes (if not using safety eyes): Hot glue on the flat backed pearl or embroider eye/sleepy eye at approx. Round 7, 4 sts apart. See video for assistance: https://youtu.be/4kO0XAkXMGo |
| Mouth: Using Black, embroider on the mouth as desired. See video for tips: https://youtube.com/shorts/O3zWtj2Y2pE?feature=share |
| Bow: Place as desired on Round 5 of the head. Sew in place. |
| Buttons: Using Green, embroider 3 buttons down the centre of the body. |
| Scarf (optional): Tie in place around the neck |
| Ornament Hanger Cut a piece of twine approx 6” long. Sew through the top of the head. Tie a knot. |
| Arms/Legs: Add your mini candy canes or curly cues into the holes made in Round 14 of the Head/Body. |
Congratulations!
You have now completed your Gingerbread Girl Candy Cane Holder Ornament Crochet Pattern.
H2 More Ways to Use Your Crochet Candy Cane Gingerbread Girl
Crochet Candy Cane Gingerbread Girls aren’t just for the tree. Use them to bring the Christmas spirit to your decorating in other ways!
- String several together to create a cheerful garland for your mantel or doorway.
- Hang one from your car rear view mirror.
- Attach one to the front of a Christmas card!
- They also work beautifully as table centrepieces. Arrange them with greenery and lights for a cosy holiday vibe.
These ornaments are versatile and quick to make, making them perfect for spreading Christmas cheer amongst family and friends.
H3 Easy Crochet Gingerbread Ornament Pattern for Beginners
These Gingerbread Girl Candy Cane Holders are a fantastic choice for advanced beginners. Their small size makes them quick to complete, offering a rewarding experience without a big time commitment. The low-sew design simplifies the process, with the head and body worked as one piece and minimal finishing required. This straightforward pattern builds confidence while letting beginners create something festive and fun, with basic crochet stitches. Also, the little accessories that you’ll be making, keeps this mini gingerbread amigurumi, interesting to create!
We love seeing your finished projects. Tag us in your photos and posts using #DarlingMapleDesigns or @darlingmapledesigns.
These little amigurumi Gingerbread Girl Candy Cane Ornaments are the perfect festive project for crocheters of all skill levels. With their quick, low-sew design and creative uses, they’re ideal for last-minute gifts, craft fair stock, or a unique addition to your Christmas decorations. The option to use candy canes or curly cue limbs adds versatility, while soft, vibrant yarn ensures they look amazing. I think that these adorable designs could easily become part of your Christmas tradition!
Have you seen my Free & Easy Gingerbread Flip Flop Kitty Cat Pattern?
Thank you so much for joining us! I hope you loved completing your Gingerbread Girl Candy Cane Crochet Pattern as much as I enjoyed designing it for you. Don’t want to miss a stitch? Subscribe to the Darling Maple Designs newsletter and I’ll send updates for new pattern releases, sales and promotions straight to your inbox. See you again soon! Sara <3
If you have any questions or concerns with this, or any other pattern written by Darling Maple Designs, please do not hesitate to contact me at: info@darlingmapledesigns.com.
Don’t forget to Pin it to your project board.
Check out my other crochet candy cane ornament patterns!
- Santa
- Snowman
- Reindeer
- Kitty
- Dinosaur
- Unicorn
- Bear
- Puppy
- Mrs Claus
- Elf
- Mouse
- Moose
- Gingerbread Boy
- Gingerbread Girl
- Penguin
- Giraffe


